A guide to creating the perfect focussed writing machine!
Years ago, when cloud storage integrations became a trend in Microsoft’s Office suite, I bid my farewells. There were occasions when I had public speaking engagements, and sometimes I’d walk on stage without having performed any pre-presentation checks (as happens in the real world). I’d open my laptop with my audience patiently awaiting, only to be met with a hanging PowerPoint displaying ‘syncing with cloud’ messages. Frustrated with such occurrences, I made the switch to Apple Keynote, and later Pages, as replacements for Word. Although Microsoft has likely resolved these issues since then, I find myself happier using these alternative solutions. Today I’m diving into my Pages configuration.
How to set up Pages
You can acquire the latest version of Apple Pages for free from the App Store. Upon opening the application, you’ll be greeted with an ‘open file’ menu. From there, simply select ‘new document’ to access the template menu and begin your pro
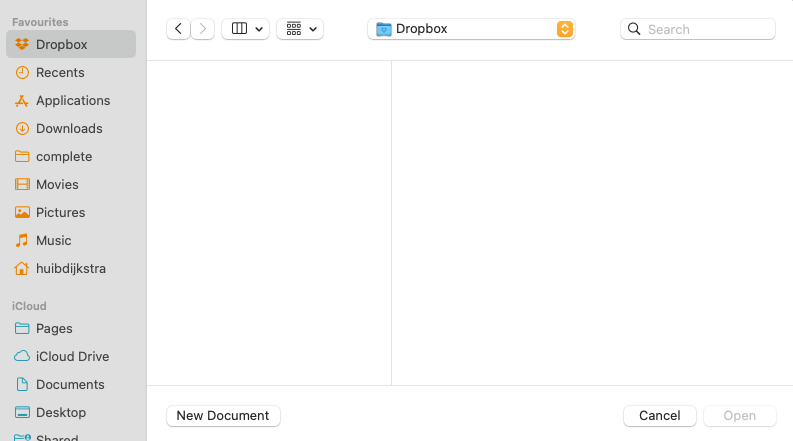
Open File Menu on launch
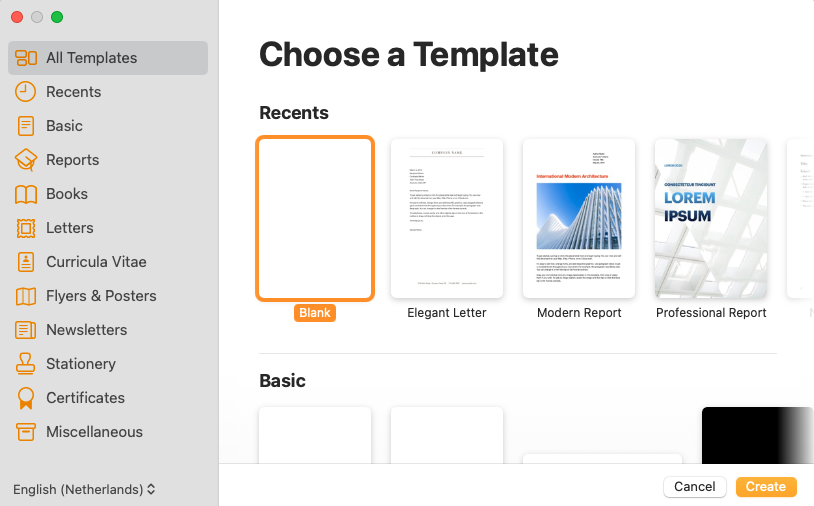
Template Menu
Opting for ‘blank’ provides you with a clean slate, primed and ready to begin your work. A fruitful starting point for exploring features and functions is the ‘View’ menu. Here, you’ll encounter a range of options, including:
- Show Layout – Great for understanding margin-layout
- Show Invisibles – For when you hit unexpected layout adjustments
- Show Wordcount – Nifty for tracking the length of your article
- Customize Toolbar – For setting up the toolbar to your liking
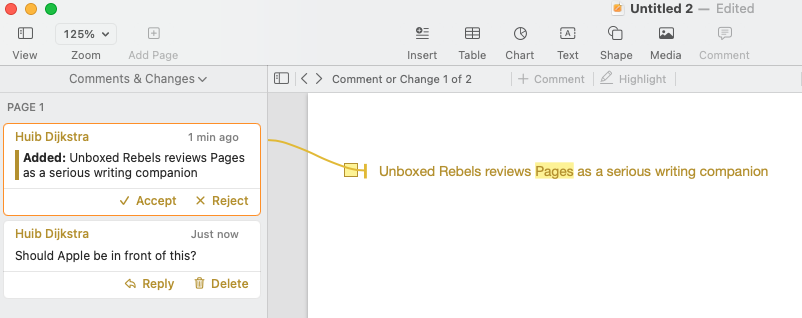
Tracking Changes, Reviewing Comments
When you choose ‘track changes’ from the ‘Edit’ menu, all modifications made to your document are meticulously tracked. By selecting ‘Comments and Changes Pane’ from the ‘View Menu,’ a toolbar will appear on the left side, neatly displaying all comments and changes for easy reference.
Where to find the rest?
On the right side, you’ll notice the ‘Format’ button, which reveals the right toolbar housing most of the tools you’ll use frequently. Here, you can establish Styles to maintain consistency throughout your document.
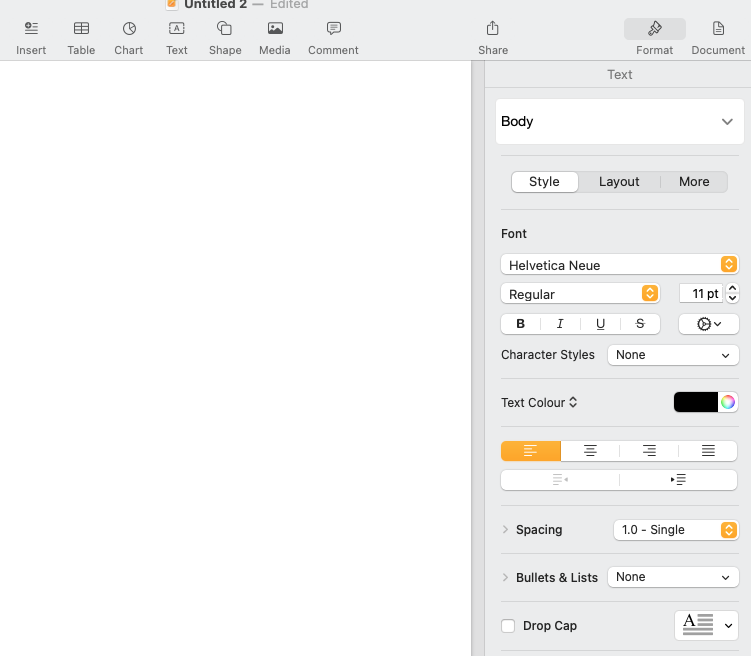
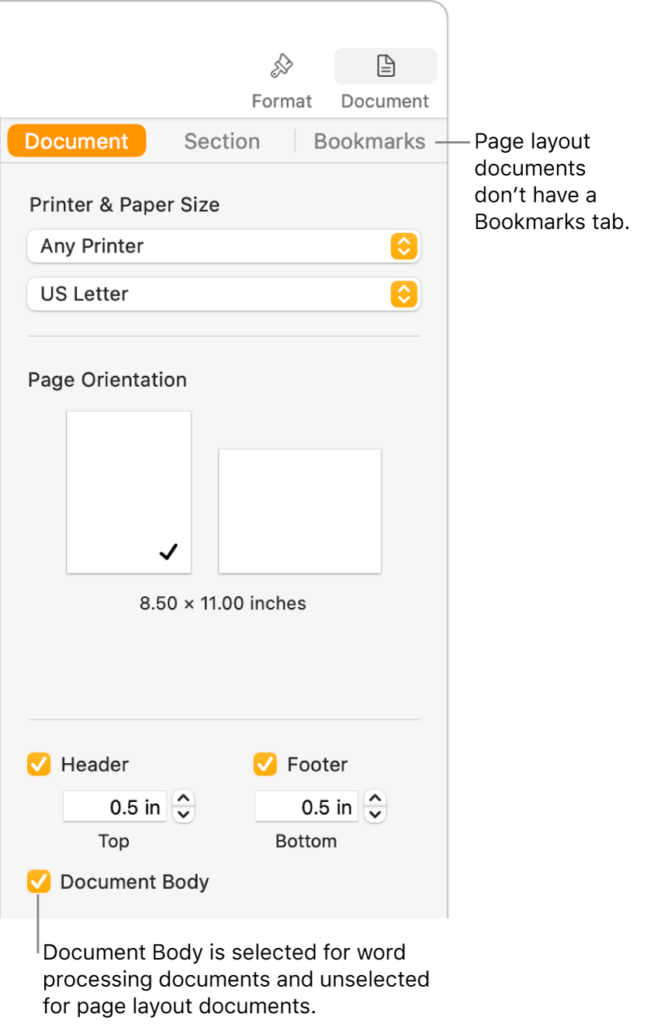
You might be searching for the header and footer settings, they’re under the ‘Document’ button beside the button to select the Format Menu.
Dark Focus Mode
If you’re seeking to implement a dark focus mode while keeping the rest of your Mac in Light mode, the default settings don’t offer this capability. Fortunately, Apple Developer Christoffer Winterkvist has provided a solution. You can download a tool called ‘Grey’ from his GitHub page, which addresses this need. https://github.com/zenangst/Gray
First, set your Mac to use Dark mode than open up Christoffer’s app:
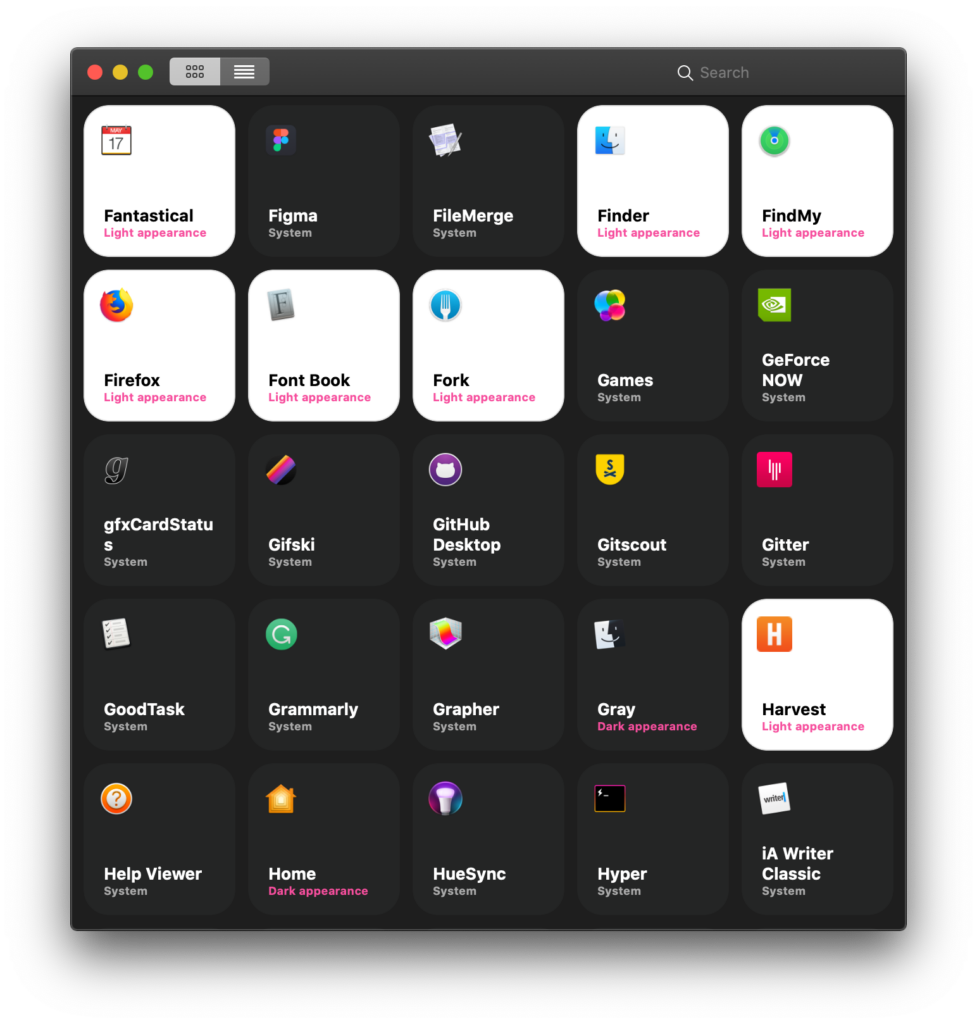
Enhance your writing experience by selecting all items you prefer to keep in light mode, excluding only Apple Music and the iWork applications: Keynote, Pages, and Numbers. Afterwards, reopen Pages to discover the ideal Focused Writing Setup. Integrate your favourite AI support tools, brew a fresh espresso, and you’re primed for unparalleled productivity.