Virtual Machines present an incredible solution for various use cases. Personally, I’ve leveraged this setup when I worked as a consultant. Operating from my MacBook as my primary device, I created Virtual Machine OSX instances for each of my contracting assignments, essentially creating virtual client-laptop clones. In many scenarios, befriending a virtual machine OSX can immensely optimize your workflow.
Virtual Machines are also amazing when you’re developing or testing out software. To host a virtual macOS on a MacBook there are some tricks. I’ve written a manual on how to set up VMware Fusion and create the required ISO file (nowadays Fusion 13 also offers the option to work with the normal Apple Operating install file that you download from the AppStore). Finally, I’ve also described how to set up the virtual machine OSX.
This is a short guide on how to set-up a Apple OSX Mojave machine in VMware fusion and how to create the iso file needed during installation. Establishing a stable Virtual Machine for OSX is crucial at this stage.
Setting up the VM
First step: launch VMware Fusion, I used version 11.
Click on the “+” sign at the top of the screen to start the process of creating a new virtual machine. Make sure you’re following the correct steps for setting up a Virtual Machine OSX.
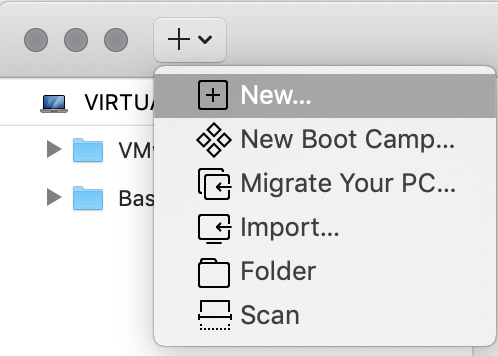
Click on “+ New…”
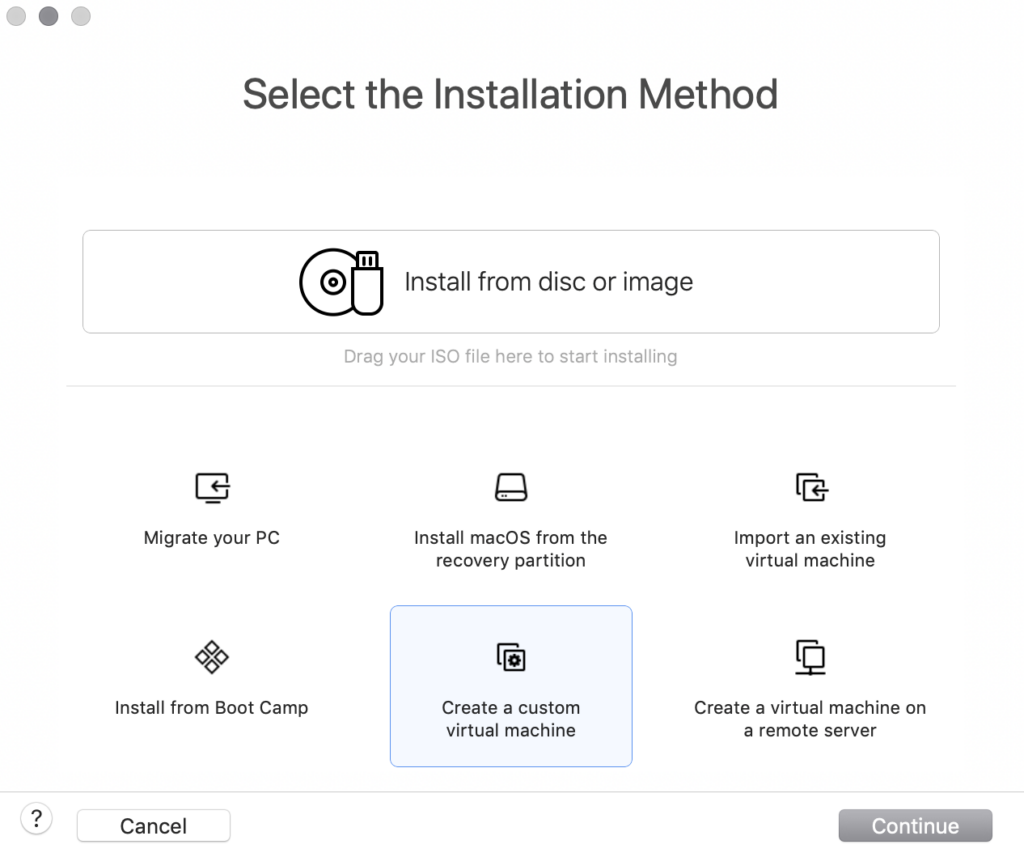
Select “Create a custom virtual machine” and click Continue.
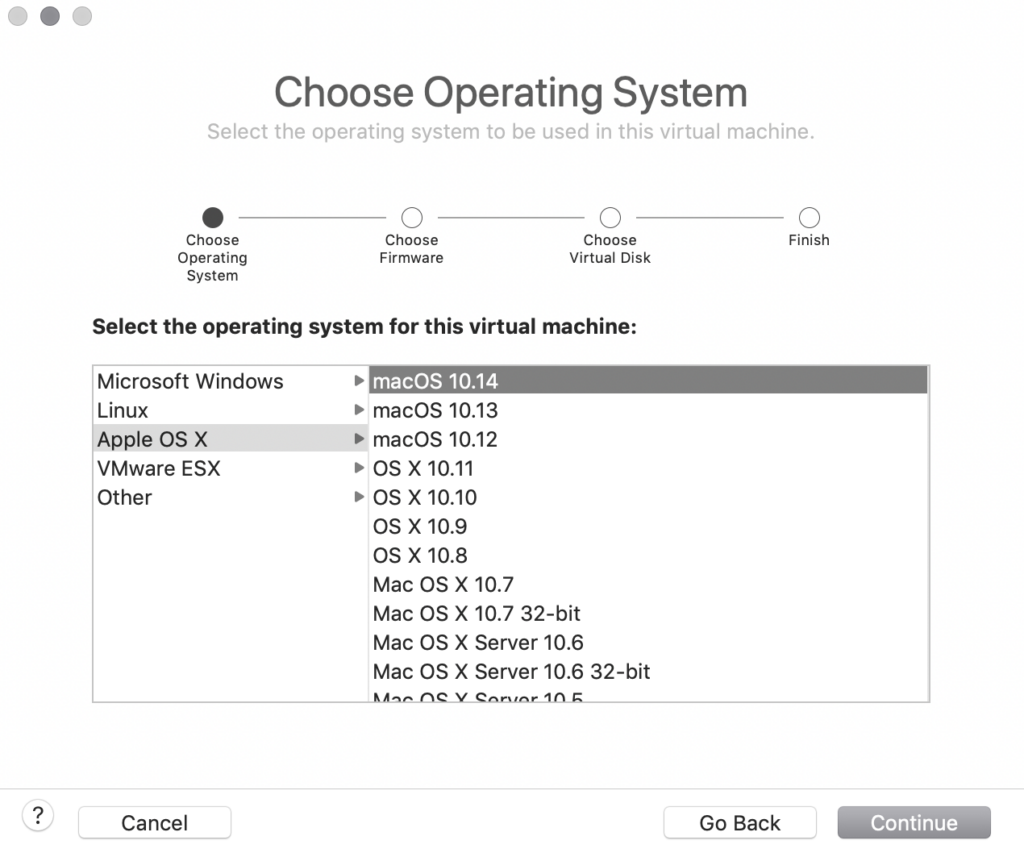
Select “Apple OS X” and then select “macOS 10.14” and click Continue. This helps in setting up the Virtual Machine OSX properly.
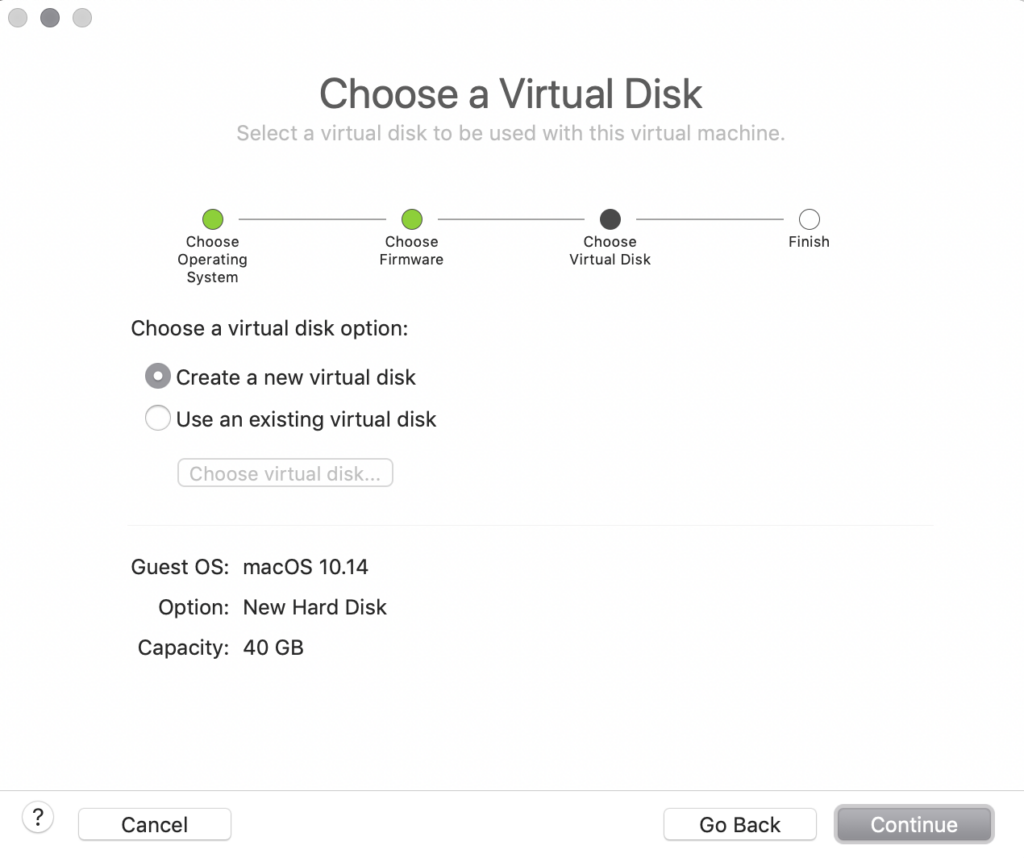
Leave the setting on “Create a new virtual disk” and click continue
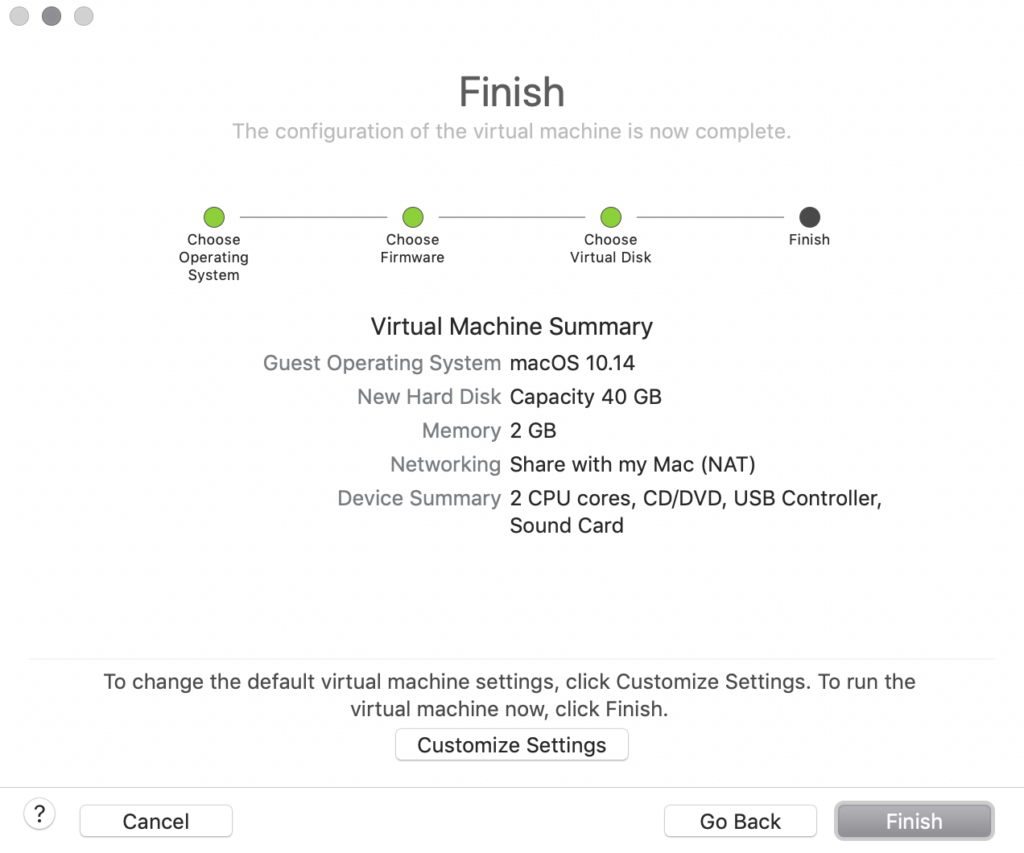
Either accept the default settings and click Finish or click on Customise Settings to change the specifications of the virtual machine. After the VM is created leave it for now, we first need to create a OSX Mojave ISO file.
Creating a Apple OSX Mojave .ISO file
You’re going to need a Mac running OSX and a AppleID to complete this step in creating your Virtual Machine OSX.
First launch the App store and search for “Mojave”
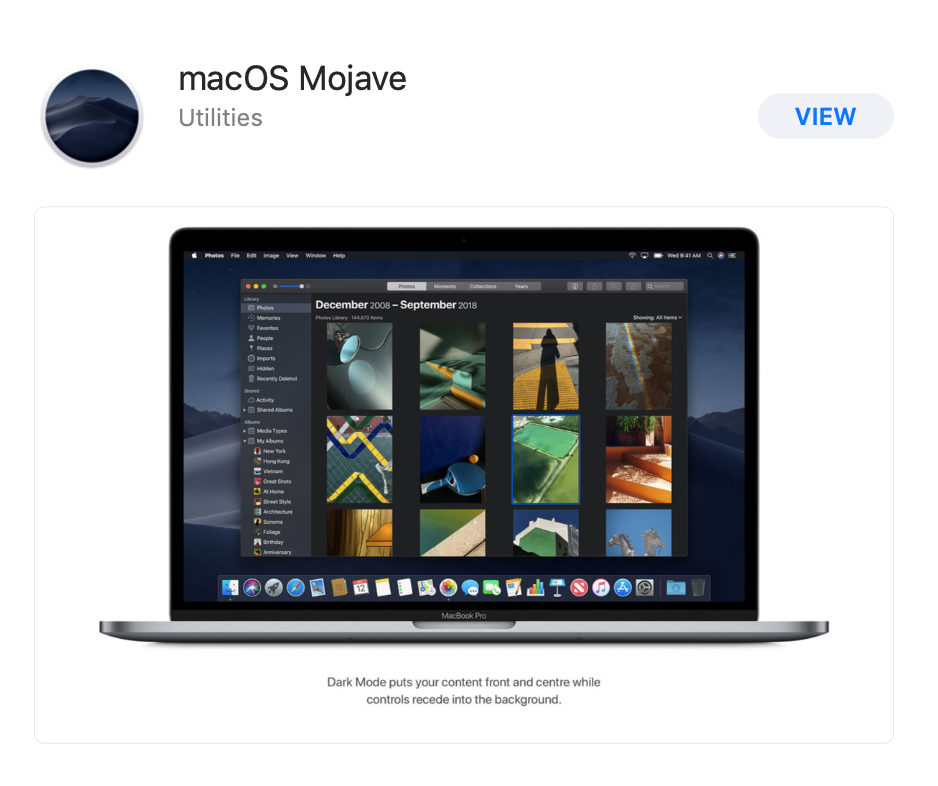
If you’re already (like me) on OSX 10.14 it’s going to say “View” instead of download. Click on “VIEW” to continue. Click on “Get” this will trigger the “Software Update” app on your Mac.
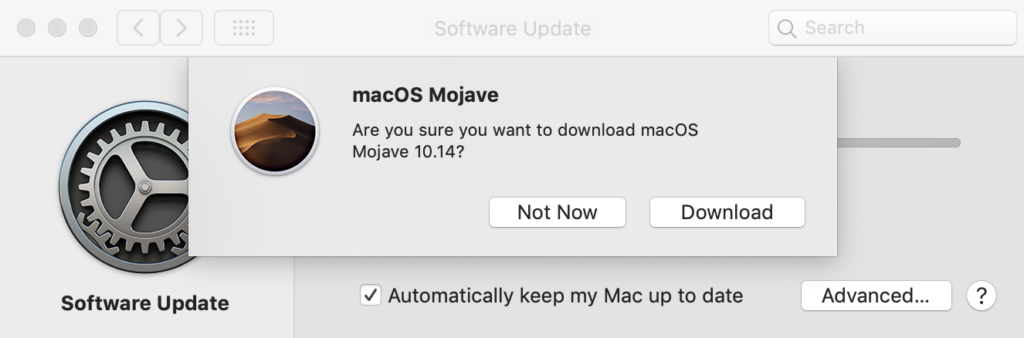
It is going to prompt asking you what to do, select Download and wait ±20 min.
After its finished download the set-up app going to autostart, leave this screen untouched. You can close it after we’re done creating the .iso file.
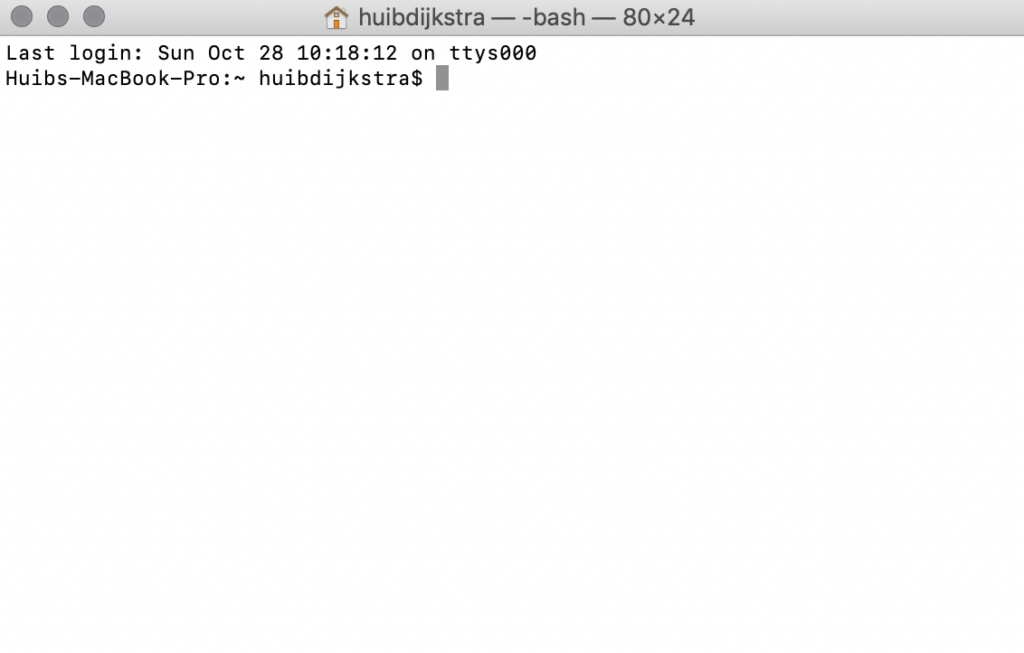
Open Terminal on your Mac and enter the command below
hdiutil create -o /tmp/Mojave.cdr -size 12000m -layout SPUD -fs HFS+J
This is going to create a temporary virtual disk file in you tmp directory. Once its done you can attach and mount the virtual disk for your Virtual Machine OSX.
hdiutil attach /tmp/Mojave.cdr.dmg -noverify -mountpoint /Volumes/install_build
Now we’re ready to extract and create an installable image from the Mojave download. Enter the command shown below to extract an installable image onto the mounted virtual disk. The command needs to run elevated so it is going to prompt you for credentials. After you’ve entered your credentials it is going to ask you to confirm, confirm with “y” and “Enter”
sudo /Applications/Install\ macOS\ Mojave.app/Contents/Resources/createinstallmedia --volume /Volumes/install_build
Next we’re going to move the contents of the virtual disk into a .dmg file on your desktop
mv /tmp/Mojave.cdr.dmg ~/Desktop/InstallSystem.dmg
Now we’re almost ready. Next detach the virtual disk (installer)
hdiutil detach /Volumes/Install\ macOS\ Mojave
One of the last steps we have to take is to convert the newly created “InstallSystem.dmg” into a .iso file, enter the command below to achieve this. This converts your system files for the Virtual Machine OSX.
hdiutil convert ~/Desktop/InstallSystem.dmg -format UDTO -o ~/Desktop/Mojave.iso
Lastly we need to change the file type of the file “Mojave.iso.cdr” on your desktop. Select the file and hit enter, now rename the file to “Mojave.iso” it is going to prompt you if you are sure; select “Use .iso” and we’re done!

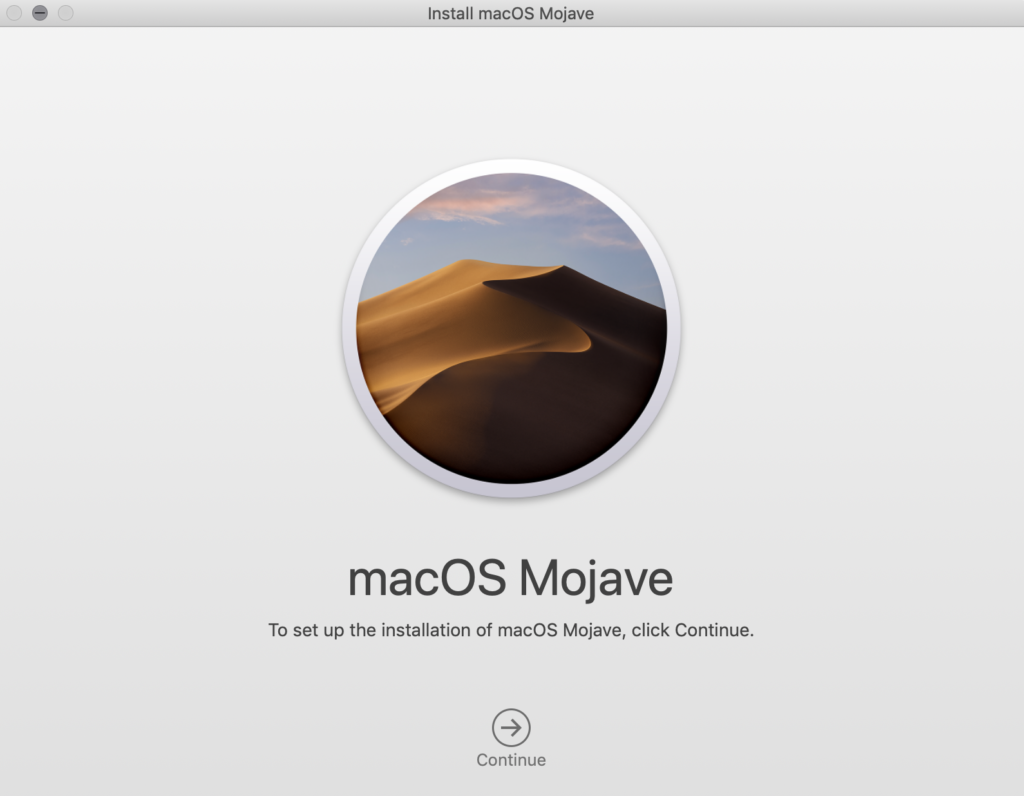
Boot and install OSX Mojave in your virtual machine
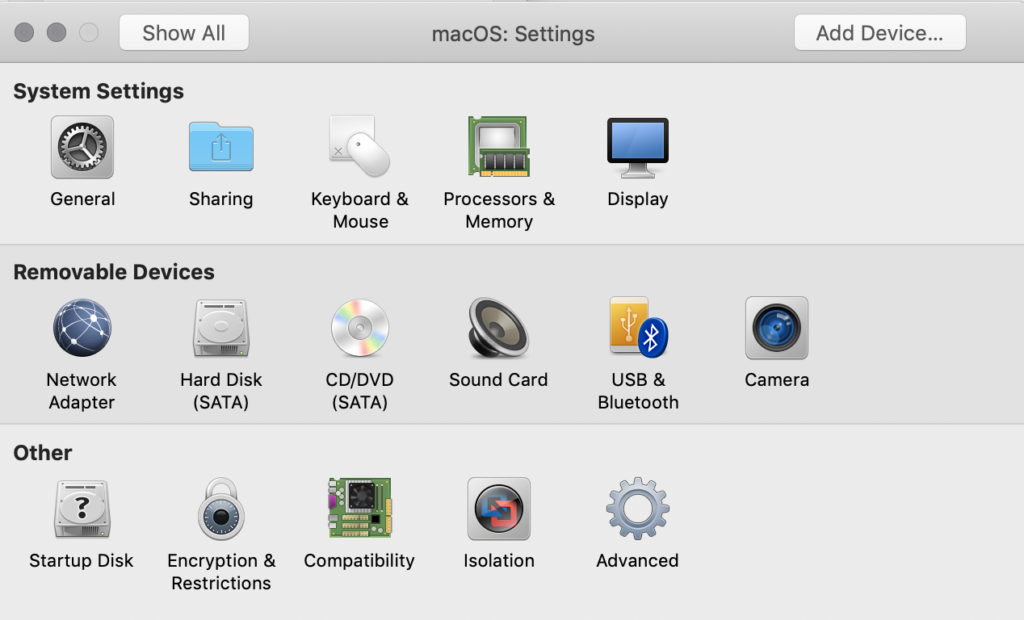
Now let’s go back to VMware Fusion. In the virtual machine manager, right click the VM you created earlier and click on settings.
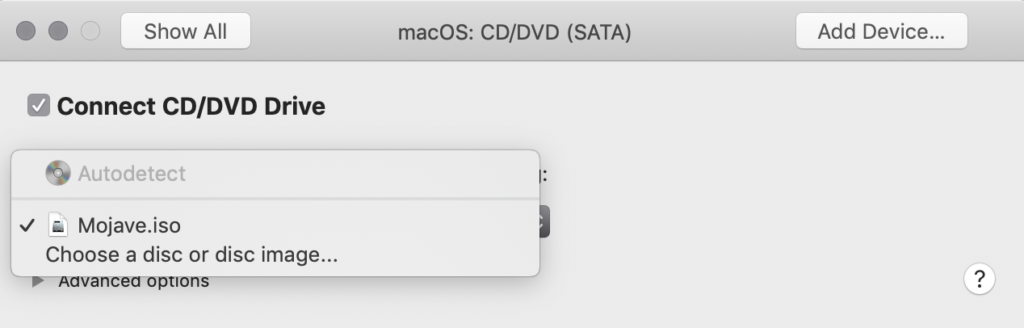
GoTo “CD/DVD (SATA)” select “Connect CD/DVD Drive”, next GoTO the pull-down menu and browse to the .iso file we’ve created. This is a critical step in configuring your Virtual Machine OSX setup.
Now you’re all set, boot the machine and follow the Apple installation instructions to install Mojave.


